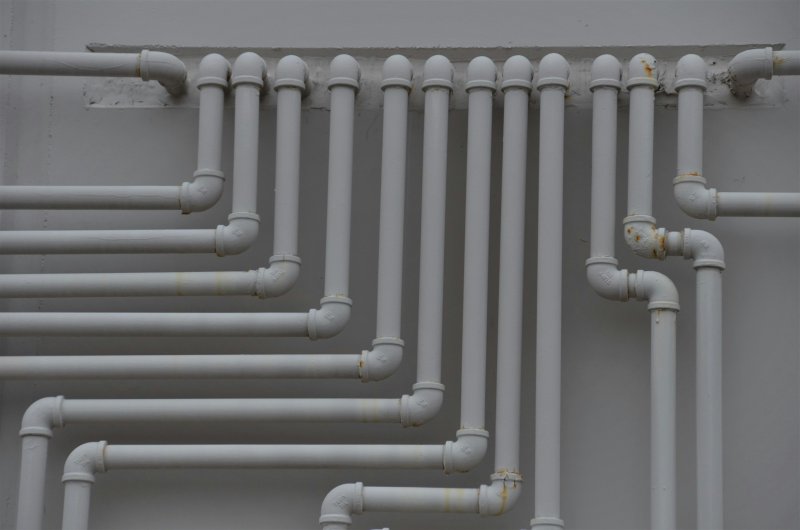
Radon mitigation costs $800 to $2,500 installed in 2026, with most poured-basement homes landing at $1,200 to $1,800 for an active sub-slab depressurization system. Crawl spaces and complicated foundations push $2,500 to $3,500. The hardware is simple (a fan, sealed pipe, suction pit), but foundation type and pipe routing determine which end of the range you’re on.
When to mitigate
EPA’s action level is 4 pCi/L. At or above that, the agency recommends fixing the home. Between 2 and 4 pCi/L, mitigation is optional but reasonable. The reasoning is that no level of radon is considered safe; lung-cancer risk scales linearly with concentration and exposure time.
For context, the average U.S. indoor reading is 1.3 pCi/L and outdoor air sits around 0.4 pCi/L. So a 3.0 pCi/L result is well above background, and a 5.0 reading puts your home in the upper third of risk distribution.
A short-term charcoal kit ($10 to $25 from a hardware store, plus $10 to $40 lab fee) is enough to know whether you have a problem. If the result is borderline, follow up with a long-term alpha-track test or a pro-placed continuous monitor ($125 to $400) before committing to a $1,500 system.
Cost by system type
System cost tracks the foundation more than the home’s size. A 4,000 sq ft house with a finished basement and a single suction point is cheaper to mitigate than a 1,200 sq ft cottage on a vented dirt crawl space.
| System | 2026 range | Typical | Best fit |
|---|---|---|---|
| Active sub-slab depressurization (ASD) | $800 to $2,500 | $1,500 | Basement or slab-on-grade |
| Sub-membrane depressurization (SMD) | $1,500 to $3,500 | $2,500 | Crawl space, dirt or gravel floor |
| Drain-tile / sealed sump suction | $1,200 to $2,800 | $1,800 | Perimeter drain or existing sump |
| Block-wall depressurization | $1,500 to $3,000 | $2,200 | Hollow CMU foundation walls |
| Passive rough-in (new construction) | $300 to $500 | $400 | Builder pre-stub during framing |
Sources: HomeGuide 2026, Angi 2026, Bob Vila system breakdown, regional contractor pricing across IA / PA / CO.
Active sub-slab depressurization
This is the dominant approach for poured-concrete basements and slab-on-grade homes — the default system on the AARST standard and the most common install nationwide. The contractor cuts a 4 to 6 inch hole through the slab in a low-traffic spot, removes maybe 5 gallons of sub-slab gravel to create a suction pit, drops a 3- or 4-inch PVC pipe in, seals around it, and routes the pipe up through the house (or out through the rim joist) to a fan in the attic or on the exterior wall. The fan pulls a slight vacuum under the entire slab, intercepting soil gas before it can enter living space.
A single pit covers up to roughly 2,000 sq ft of slab area in most cases. Larger or oddly-shaped slabs sometimes need a second pit at $400 to $800 extra.
Sub-membrane depressurization
Crawl spaces are the worst-case mitigation job because there’s no slab to suction beneath. The fix: lay a 6-mil or 12-mil polyethylene vapor barrier across the dirt floor, seal it to the foundation walls and around piers, then run a perforated pipe under the membrane to a fan. This is essentially making a slab out of plastic.
Cost is driven by crawl space size, accessibility (a 24-inch entry hatch makes everything harder), whether full encapsulation is required, and existing moisture issues. Expect $2,500 on average for a clean crawl space; tight or already-damp ones run $3,500 and up.
Drain-tile and sealed sump
Homes with a perimeter drain ringing the foundation footing (drain-tile) or a sump pit already serve up a built-in suction network. The contractor seals the sump pit with a clear, gasketed lid, ties the pipe into the drain or sump, and adds a fan. Often the cleanest install at $1,200 to $1,800.
If you have a passive radon stack from new construction (a vertical PVC pipe roughed in by the builder with no fan), activating it is the cheapest possible upgrade. Usually a fan plus electrical run, $500 to $900 total. New construction with a passive stack is the only situation where DIY activation makes sense.
Block-wall depressurization
Hollow concrete-block (CMU) walls let radon move horizontally through the cores and seep in through every joint. Standard sub-slab suction underperforms because the gas finds a different path. The fix is depressurizing the wall cores themselves through a side-entry pipe. Pricier and trickier; $1,500 to $3,000 typical, more if multiple wall sections need separate manifolds.
What changes the bid
Six factors explain almost all the price spread between contractors quoting on the same house:
- Foundation complexity. A walkout basement with a finished half and a crawl-space half is two systems in one bid.
- Fan size. A 145-watt RadonAway RP145 covers most standard installs. High-leakage slabs or tight crawl spaces need a 260-watt fan, which adds $100 to $200 to materials.
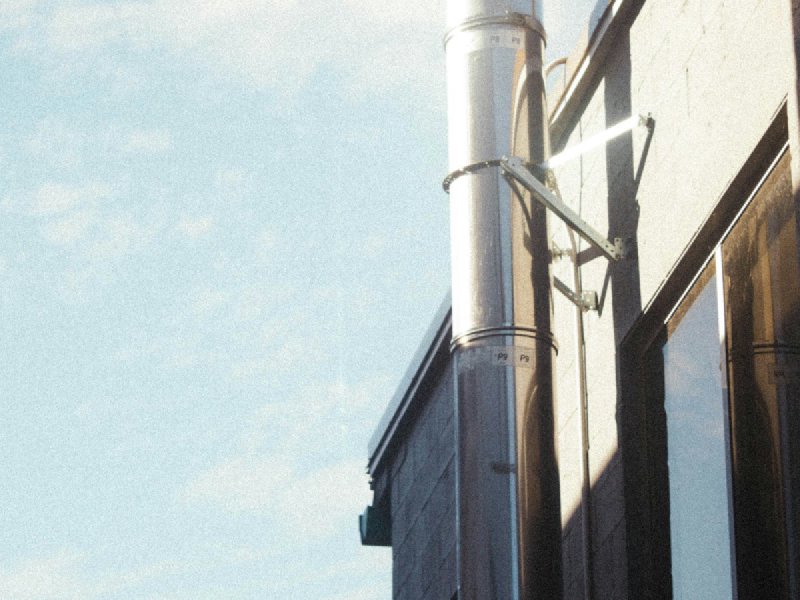
- Pipe routing. Interior routing (through closets, up to the attic) is the AARST default and costs less. Exterior routing avoids framing penetrations but adds vinyl boots, paint, plus a fan stand. Figure $300 more.
- Slab sealing. Visible cracks plus the slab-to-wall perimeter all need polyurethane sealant. A neglected basement with hairline cracks every 6 feet adds an hour of labor and a $50 caulk gun.
- Post-mitigation testing. AARST standard SGM-SF-2017 requires a follow-up test 24 hours to 30 days after activation. Some contractors include it; others tack on $145 to $300.
- Region. High-radon states (Iowa, Colorado, Pennsylvania, Ohio) have more contractors and tighter pricing. Urban metros run 10 to 20% above rural for the same job.
Operating cost: the part most guides skip
The install isn’t the only number that matters. A radon fan runs 24/7 forever.
- Electricity: $30 to $80 per year at typical U.S. rates — about the same draw as a 60-watt bulb running 24/7.
- Fan replacement: Every 5 to 10 years, $200 to $600 all-in for a standard single-fan replacement, $600 to $1,200 for multi-fan systems. Most homeowners get seven or eight years before bearings start humming.
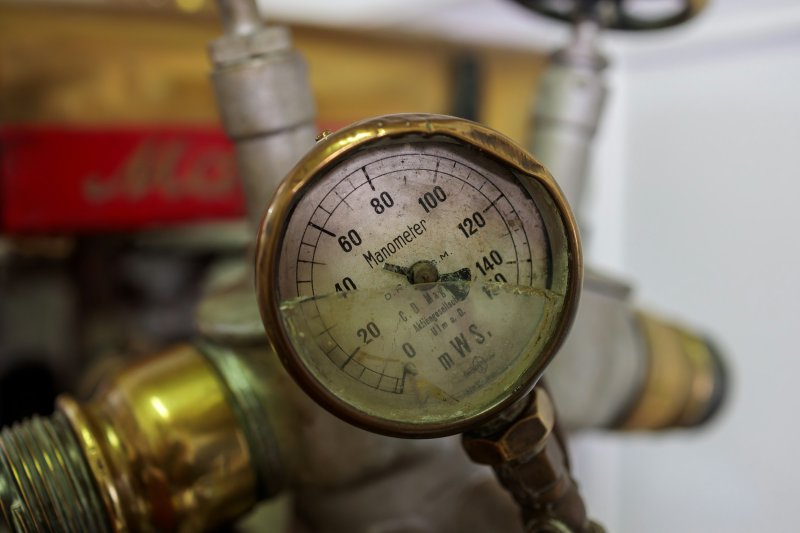
- Manometer check: The U-tube water gauge on the riser pipe should read between 0.5 and 1.5 inches water column. Zero means the fan died. Look at it once a month. Most homeowners never do, then lose two years of mitigation before noticing.
- Periodic retest: EPA recommends retesting every two years and after any major renovation. A $15 charcoal kit is enough.
Add it up: a $1,500 install, $300 to $800 in electricity over a decade, plus one $400 fan replacement somewhere in year seven or eight, lands you at roughly $2,200 to $2,700 in real ten-year cost. That’s not a reason to skip mitigation; it’s a reason to budget honestly.
Picking a contractor
Two filters do almost all the work.
The first is NRPP or NRSB certification. The National Radon Proficiency Program (the AARST credentialing arm) and the National Radon Safety Board are the two recognized U.S. credentialing bodies — most legitimate mitigators carry one or the other. Ask for the credential number; both registries are searchable online. Anyone who can’t produce one and dismisses the question is the wrong call.
The second is the post-mitigation test policy. AARST SGM-SF-2017 requires retest after activation. A contractor who treats post-test as an extra-cost add-on rather than included scope is cutting a corner that exists specifically to verify the system works. Get that in writing in the bid.
A few more questions worth asking before signing:
- Where will the fan be mounted? (Attic or exterior is correct. Basement is a code violation.)
- Will the discharge terminate above the eave and at least 10 feet from any window or intake?
- What manometer comes with the install, and where will it be mounted?
- What’s the retest commitment? AARST recommends a follow-up between 24 hours and 30 days post-activation.
A pro will answer these without hesitation. If the answer is vague, the install will be too. One more filter that catches a surprising number of bad installers: ask for two recent post-mitigation test results from real jobs (with the homeowner’s permission, addresses redacted). A reputable mitigator can produce these in five minutes; a marginal one will hedge.
Regional pricing
Radon-mitigation pricing varies less by state than HVAC or roofing because the parts list is short and shippable. The bigger driver is contractor density. Counties with a state-mandated disclosure requirement (Illinois, New Jersey, parts of Colorado) tend to have more mitigators per capita and consequently tighter pricing.
| Region | Typical install | Notes |
|---|---|---|
| Iowa, Colorado, eastern Pennsylvania | $1,200 to $2,000 | High radon zones, more competitive pricing |
| Northeast metros (Boston, NYC, Philly) | $1,800 to $2,800 | Higher labor rates, denser homes |
| Midwest suburban | $1,000 to $1,800 | Most basements, established mitigation market |
| Southeast (slab homes, low radon) | $1,500 to $2,500 | Fewer specialists, slabs sometimes pricier |
| Mountain West | $1,400 to $2,400 | High geology, plenty of contractors |
If your test result is well above 4 pCi/L and you’re in a low-density mitigation market, getting two bids matters more than usual. Single-bid quotes in thin markets routinely run well above what a second contractor would charge.
Federal credits and what’s changed
Radon mitigation is not eligible for the federal §25C Energy Efficient Home Improvement Credit (which targets envelope and HVAC upgrades) nor §25D (clean energy). Radon is classified as a health-and-safety hazard, and the federal credits explicitly exclude this category.
A separate piece of news worth flagging: the §25C home-energy-audit credit, which let homeowners claim 30% up to $150 for an audit, was repealed by the One Big Beautiful Bill Act (Public Law 119-21, signed July 4 2025). The credit is unavailable for any property placed in service after Dec 31 2025. The repeal does not apply to radon work, since radon was never §25C-eligible. But if you’re reading older guides that suggest pairing radon testing with an audit “for the credit,” that strategy no longer exists.
A handful of states (Iowa, Pennsylvania, Minnesota) run periodic radon-mitigation cost-share or low-interest loan programs through state health departments. They’re worth a phone call but rarely fund more than $500 per home.
DIY versus pro
Testing — yes. A $15 charcoal kit will tell you whether you have a problem.
Mitigation: almost always no. Buying a $300 RadonAway fan and 30 feet of 4-inch PVC seems like a $500 install, but the suction-pit sizing, slab seal-off, fan placement compliance, manometer install, plus the post-mitigation diagnostic test all need either gear or training that most homeowners don’t have. A poorly-executed DIY install can pull radon through other unsealed slab cracks faster than no system. The single exception: activating a builder-installed passive stack, which is just adding a fan to existing pipework.
If you’re handy and want to be involved, the practical path is to do the foundation crack sealing yourself before the mitigator arrives — every visible crack is a leak path that the mitigator will charge an hour of labor to seal. Knock those out for $50 in polyurethane caulk, and the system runs cleaner and tests lower the first time.
How radon testing differs from a blower door test
Worth flagging because they get conflated: a blower door test measures envelope air leakage to evaluate efficiency. A radon test measures radon concentration to evaluate health risk. Tightening a leaky home with air-sealing can actually raise indoor radon by reducing the dilution that infiltration provides — if you’re planning major air-sealing work, retest radon afterward.